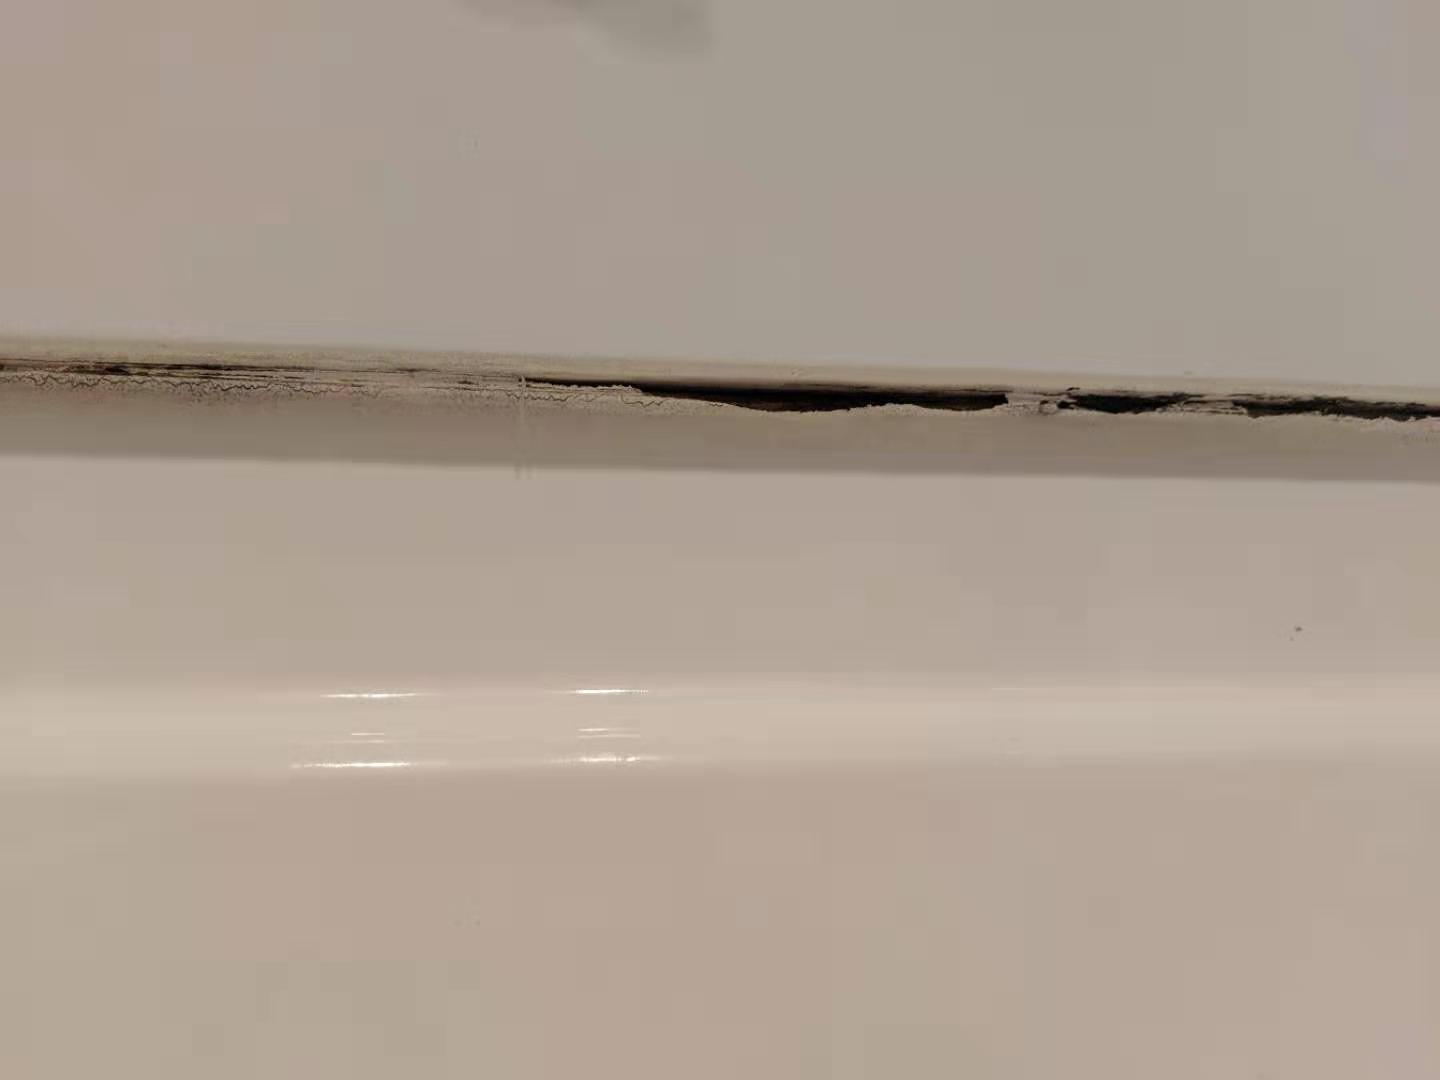
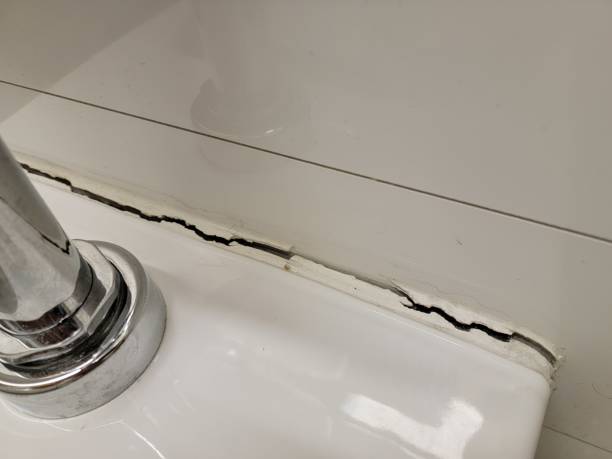
Bathroom upkeep can often seem overwhelming—especially when you notice cracked caulking. This small but common problem doesn’t just spoil your bathroom’s appearance; if left unattended, it can also lead to serious water damage. Fortunately, my dad, a skilled DIY enthusiast, taught me a simple and effective way to repair cracked caulking without removing it completely. His method saves time, effort, and money—making it an ideal fix for anyone who wants to keep their bathroom looking clean and well-maintained without going through a full renovation.

Understanding the Problem with Cracked Caulking
Cracked caulking is one of the most common maintenance issues in bathrooms, largely caused by constant moisture, humidity, and changes in temperature. Over time, the caulk begins to dry out, harden, and lose its flexibility, which leads to cracks and separations along edges and seams. These small gaps may seem harmless at first, but they can quickly become a gateway for water to seep behind tiles, sinks, or tubs—creating the perfect environment for mold, mildew, and even long-term structural damage.
Addressing cracked caulking early not only keeps your bathroom looking neat and polished but also protects your home from costly repairs down the road.
Step-by-Step Guide to Fixing Cracked Caulking
- Clean the Area: Start by wiping down the cracked section with rubbing alcohol and a clean cloth to remove dirt, soap scum, or mildew. A clean surface ensures that the new caulk adheres properly.
- Tape for Precision: Apply painter’s tape on both sides of the crack to create straight edges and prevent the new caulk from spreading unevenly.
- Apply New Caulk: Using a caulking gun or squeeze tube, carefully apply a thin, even bead of silicone caulk over the crack. Make sure it fills the entire gap.
- Smooth It Out: Use a caulk smoothing tool, a wet fingertip, or the back of a plastic spoon to smooth the surface and remove any excess caulk.
- Let It Cure: Allow the caulk to dry completely—at least 24 hours—before running water or using the shower.
Why This Method Works
This approach is effective because it provides a quick yet durable solution without the need to strip away the old caulk. Applying a new layer of flexible silicone directly over the existing caulk forms a watertight barrier that prevents leaks and mold buildup. Silicone’s elasticity allows it to expand and contract with temperature changes, maintaining a strong seal even in humid environments. This method not only saves effort but also extends the lifespan of your bathroom caulking.
Additional Tips and Precautions
- Keep the area well-ventilated while applying and curing the caulk.
- Choose a high-quality, mold-resistant silicone for best results.
- For large or deep cracks, or if the old caulk is peeling away, remove it completely before reapplying.
- Follow the product’s instructions carefully for curing times and application temperature.
Conclusion
Repairing cracked bathroom caulking doesn’t have to be difficult or time-consuming. Thanks to my dad’s simple method, you can refresh your bathroom in just a few steps while preventing future water damage. With a bit of care and the right materials, you’ll restore your bathroom’s clean look and maintain its integrity for years to come.
Leave a Reply